Great! So we have now looked at docker run, played with a Docker container and also got a hang of some terminology. Armed with all this knowledge, we are now ready to get to the real-stuff, i.e. deploying web applications with Docker!
Let’s start by taking baby-steps. The first thing we’re going to look at is how we can run a dead-simple static website. We’re going to pull a Docker image from Docker Hub, run the container and see how easy it is to run a webserver.
Let’s begin. The image that we are going to use is a single-page website that I’ve already created for the purpose of this demo and hosted on the registry - prakhar1989/static-site. We can download and run the image directly in one go using docker run. As noted above, the --rm flag automatically removes the container when it exits and the -it flag specifies an interactive terminal which makes it easier to kill the container with Ctrl+C (on windows).
Terminal window
$dockerrun--rm-itprakhar1989/static-site
Apple Silicon (M1/M2/M3/M4) & ARM Note: If you see a warning such as WARNING: The requested image's platform (linux/amd64) does not match the detected host platform (linux/arm64), Docker Desktop automatically emulates x86_64 images via Rosetta 2 / QEMU. If needed, you can explicitly pass --platform linux/amd64 to docker run:
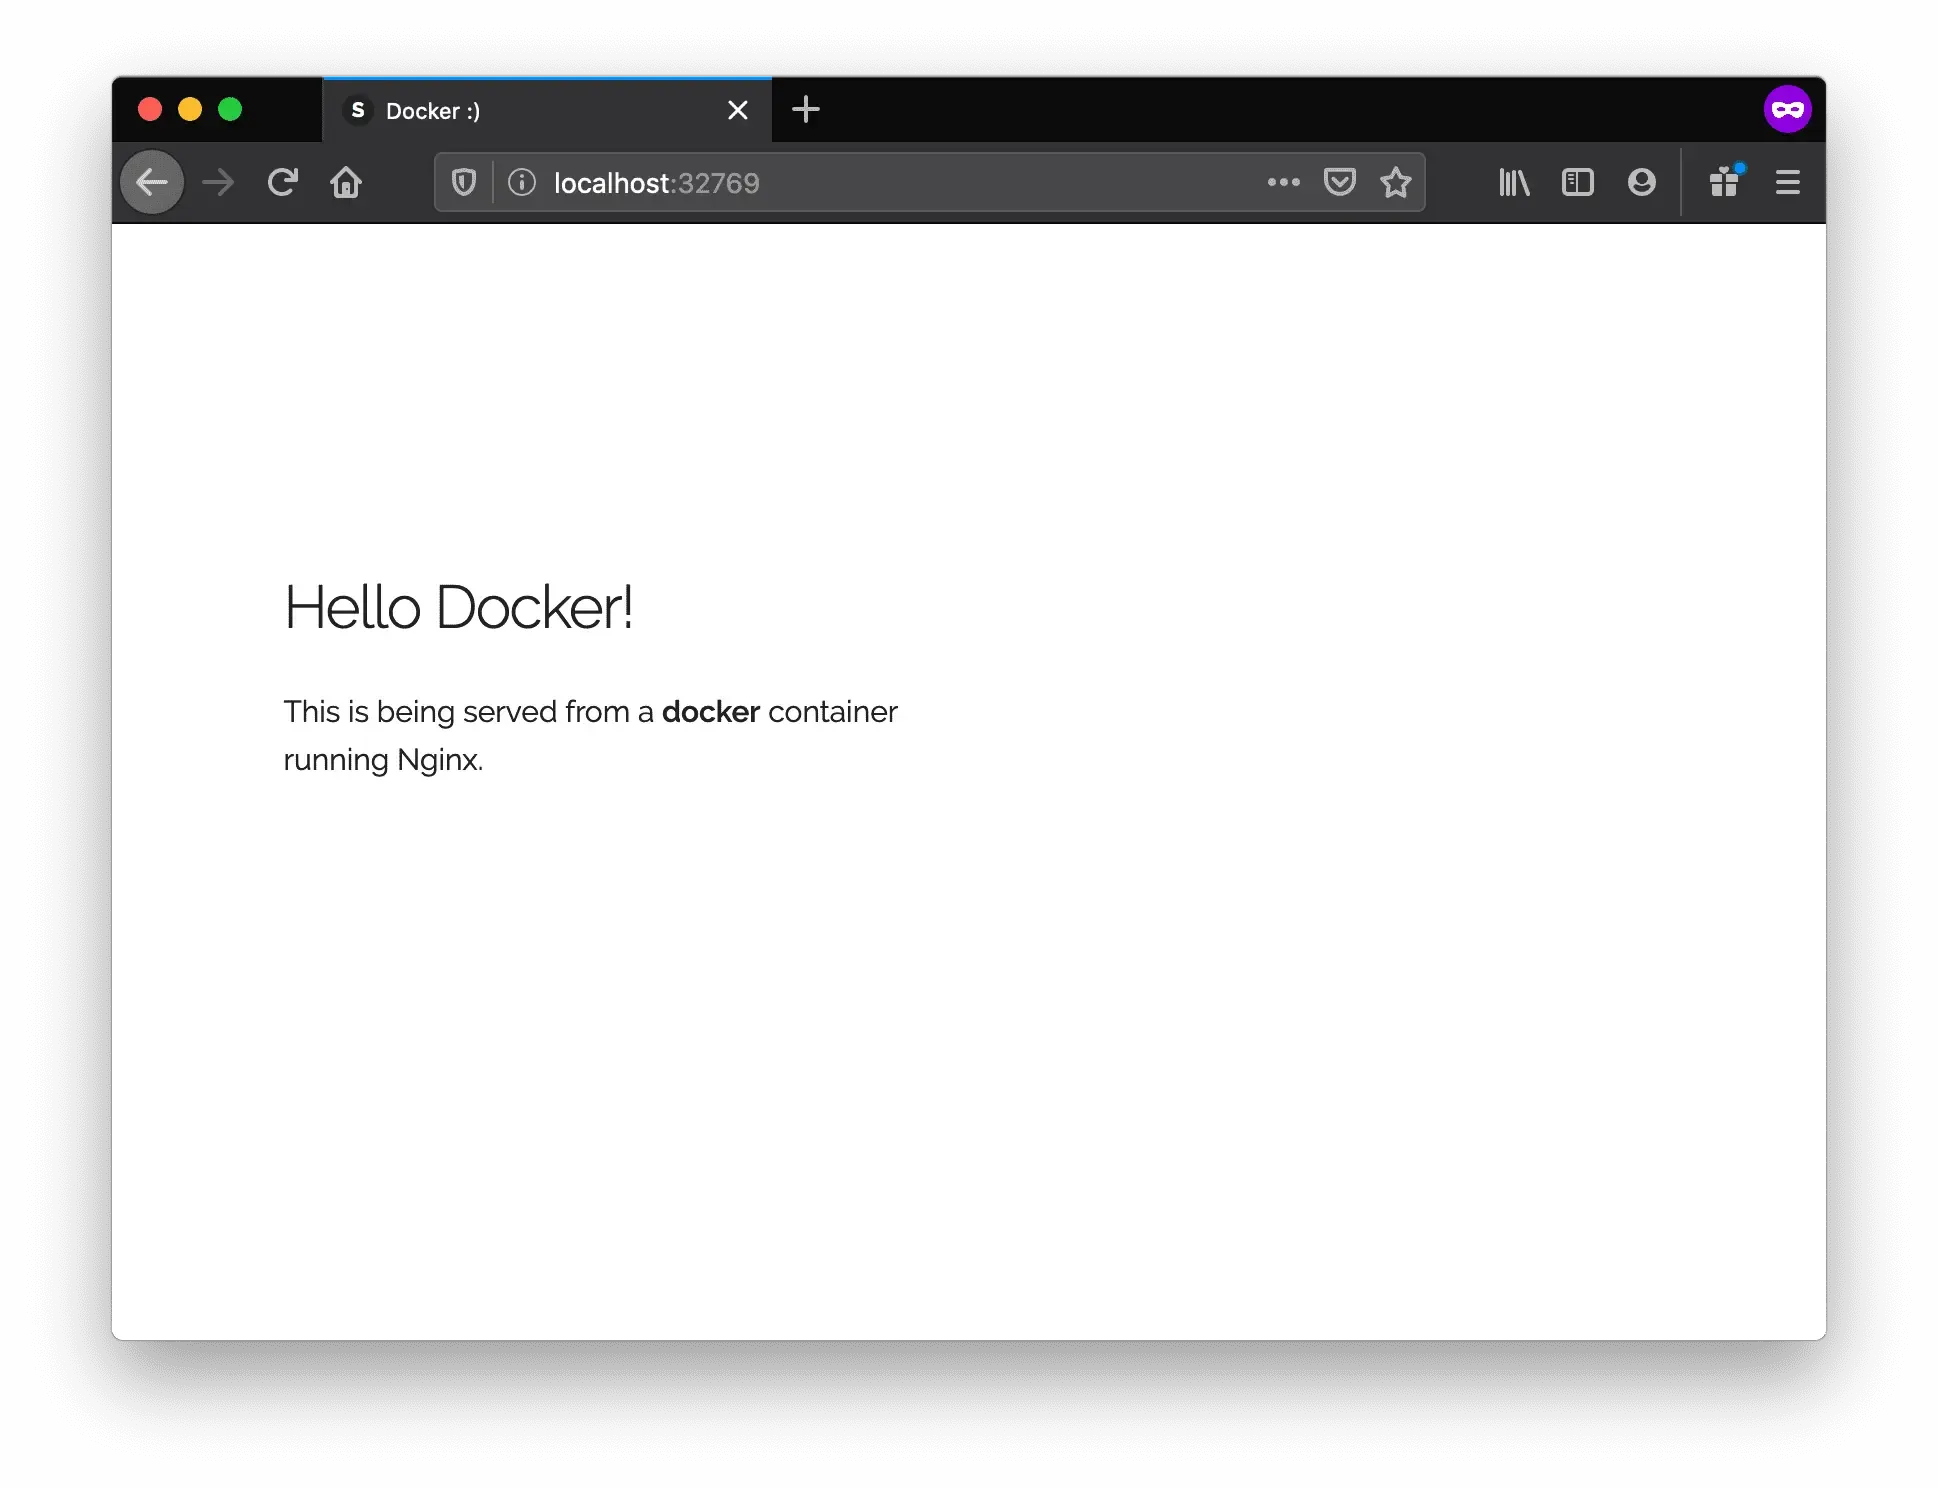
Since the image doesn’t exist locally, the client will first fetch the image from the registry and then run the image. If all goes well, you should see a Nginx is running... message in your terminal. Okay now that the server is running, how to see the website? What port is it running on? And more importantly, how do we access the container directly from our host machine? Hit Ctrl+C to stop the container.
Well, in this case, the client is not exposing any ports so we need to re-run the docker run command to publish ports. While we’re at it, we should also find a way so that our terminal is not attached to the running container. This way, you can happily close your terminal and keep the container running. This is called detached mode.
In the above command, -d will detach our terminal, -P will publish all exposed ports to random ports and finally --name corresponds to a name we want to give. Now we can see the ports by running the docker port [CONTAINER] command
Note: If you’re using docker-toolbox, then you might need to use docker-machine ip default to get the IP.
You can also specify a custom port to which the client will forward connections to the container.
Terminal window
$dockerrun-p8888:80prakhar1989/static-site
Nginxisrunning...
To stop a detached container, run docker stop by giving the container ID. In this case, we can use the name static-site we used to start the container.
Terminal window
$dockerstopstatic-site
static-site
I’m sure you agree that was super simple. To deploy this on a real server you would just need to install Docker, and run the above Docker command. Now that you’ve seen how to run a webserver inside a Docker image, you must be wondering - how do I create my own Docker image? This is the question we’ll be exploring in the next section.