Dockerfile
A Dockerfile is a simple text file that contains a list of commands that the Docker client calls while creating an image. It’s a simple way to automate the image creation process. The best part is that the commands you write in a Dockerfile are almost identical to their equivalent Linux commands. This means you don’t really have to learn new syntax to create your own dockerfiles.
The application directory does contain a Dockerfile but since we’re doing this for the first time, we’ll create one from scratch. To start, create a new blank file in our favorite text-editor and save it in the same folder as the flask app by the name of Dockerfile.
We start with specifying our base image. Use the FROM keyword to do that — we will use python:3.12-slim, a lightweight Linux image with Python preinstalled:
FROM python:3.12-slimNext, we set a working directory for our app inside the container:
# set a directory for the appWORKDIR /usr/src/appNow comes an important concept: Docker Layer Caching. Each instruction in a Dockerfile creates a cached layer. To optimize build speed when code changes, we copy requirements.txt and install dependencies before copying the rest of the application source files. That way, Docker can re-use the cached pip install layer unless requirements.txt changes!
# copy requirements file and install dependenciesCOPY requirements.txt .RUN pip install --no-cache-dir -r requirements.txt
# copy all remaining files to the containerCOPY . .
The next thing we need to specify is the port number that needs to be exposed. Since our flask app is running on port 5000, that’s what we’ll indicate.
EXPOSE 5000The last step is to write the command for running the application, which is simply — python ./app.py. We use the CMD command to do that —
CMD ["python", "./app.py"]The primary purpose of CMD is to tell the container which command it should run when it is started. With that, our Dockerfile is now ready. This is how it looks —
FROM python:3.12-slim
# set a directory for the appWORKDIR /usr/src/app
# copy requirements file and install dependenciesCOPY requirements.txt .RUN pip install --no-cache-dir -r requirements.txt
# copy all remaining files to the containerCOPY . .
# define the port number the container should exposeEXPOSE 5000
# run the commandCMD ["python", "./app.py"]
Now that we have our Dockerfile, we can build our image. The docker build command does the heavy-lifting of creating a Docker image from a Dockerfile.
The section below shows you the output of running the command. Before you run it yourself (don’t forget the period at the end), make sure to replace yourusername with your Docker Hub username. The docker build command takes an optional tag name with -t and a location of the directory containing the Dockerfile.
$ docker build -t yourusername/catnip .[+] Building 2.4s (10/10) FINISHED => [internal] load build definition from Dockerfile => => transferring dockerfile: 312B => [internal] load .dockerignore => [1/5] FROM docker.io/library/python:3.12-slim => [2/5] WORKDIR /usr/src/app => [3/5] COPY requirements.txt . => [4/5] RUN pip install --no-cache-dir -r requirements.txt => [5/5] COPY . . => exporting to image => => naming to docker.io/yourusername/catnipIf you don’t have the python:3.12-slim image locally, Docker will first pull the image and then build your app image. If everything went well, your image should be ready! Run docker image ls to list your images.
The last step in this section is to run the image and see if it actually works (replacing yourusername with yours).
$ docker run -p 8888:5000 yourusername/catnip * Running on http://0.0.0.0:5000/ (Press CTRL+C to quit)The command we just ran used port 5000 for the server inside the container and exposed this externally on host port 8888. Head over to http://localhost:8888 in your browser, where your app should be live.
macOS Note (Port 5000 Conflict): On macOS Monterey (12.0) and later, Apple’s AirPlay Receiver feature listens on host port
5000by default. If you ever try binding port 5000 directly to the host (-p 5000:5000) and get an errorport is already allocated, you can either map to a different host port (like-p 8888:5000as shown above) or disable AirPlay Receiver in System Settings > General > AirDrop & Handoff.
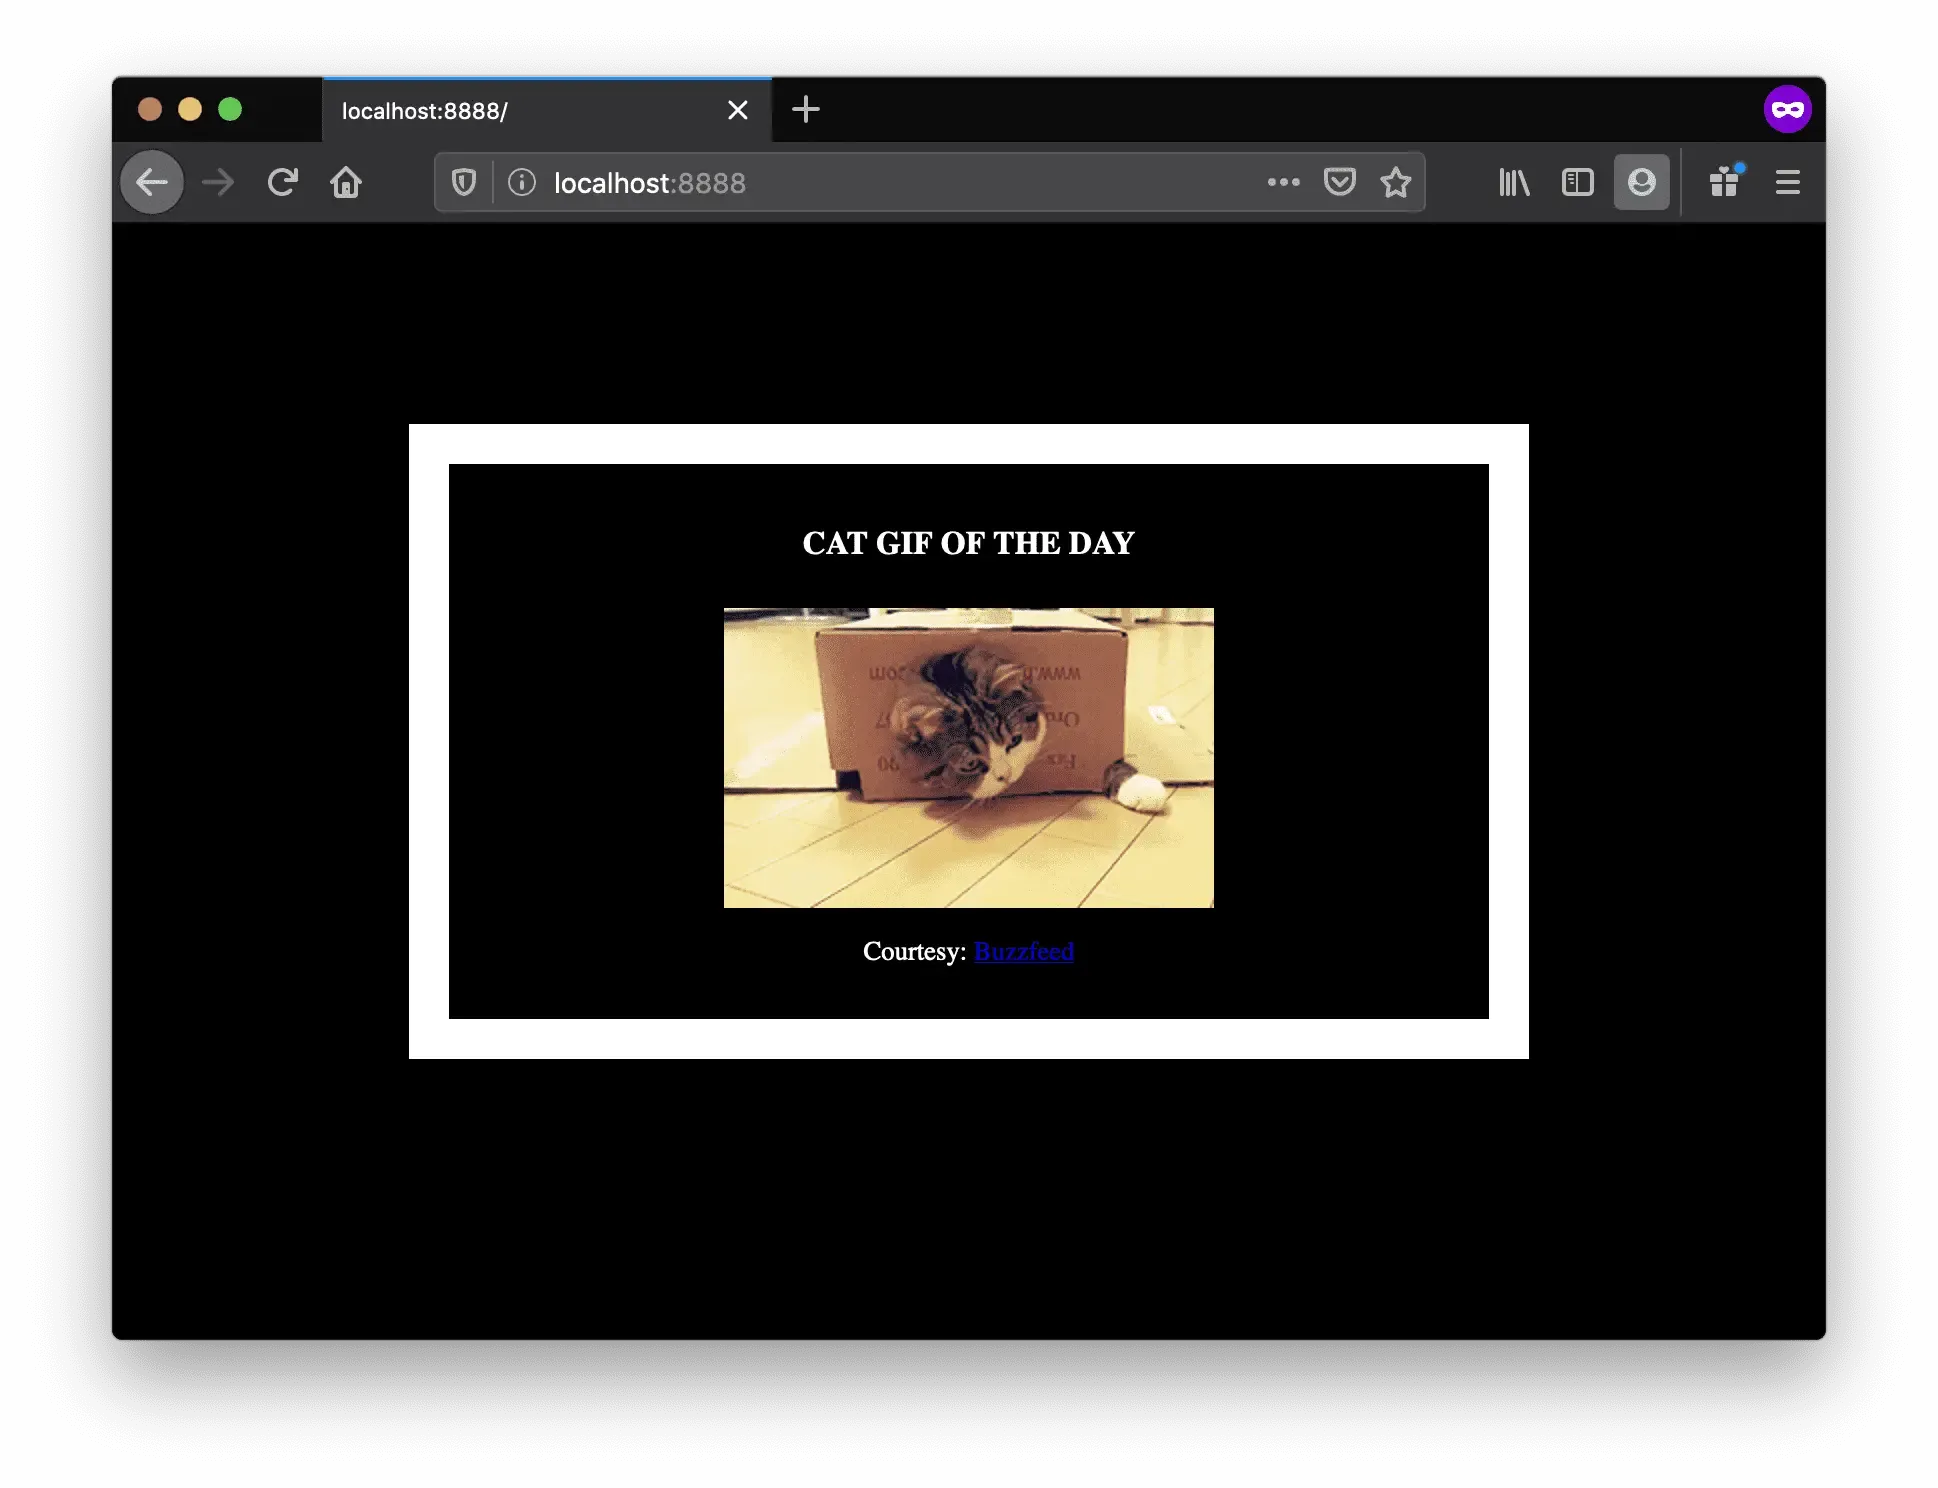
Congratulations! You have successfully created and built your first Docker image.